Repiping your home is a major renovation project, but it can dramatically improve your plumbing system’s efficiency and reliability. Whether you’re dealing with frequent leaks, outdated materials, or low water pressure, repiping provides a long-term solution to modernize your home’s plumbing and protect it from future issues. In this blog, we’ll walk you through the process of repiping your home, from planning to completion, so you’ll know exactly what to expect every step of the way.
Step 1: Understanding the Need for Water Repiping
Before starting the repiping process, it’s important to determine whether your home truly needs it. A professional plumber can assess your plumbing system and recommend whether partial or whole-house repiping is necessary. Common signs include:
- Frequent leaks or burst pipes.
- Low water pressure.
- Discolored or foul-smelling water.
- Visible corrosion on pipes.
- Old pipe materials such as galvanized steel or polybutylene.
Step 2: Choosing the Right Material for Water Line Re-piping
The next step is selecting the best pipe material for your needs. Your choice will depend on factors such as budget, water quality, and your home’s climate. Modern plumbing offers several options:
PEX (Cross-Linked Polyethylene): Flexible, durable, and resistant to freezing, PEX is a popular choice for whole-house repiping.
CPVC (Chlorinated Polyvinyl Chloride): Affordable and resistant to corrosion, CPVC is another common option.
Copper: Long-lasting and highly durable, though more expensive than plastic alternatives.
Step 3: Planning and Preparation for your Whole Home Repiping
Inspection and Layout Design—A professional plumber will inspect your home to create a detailed plan for the new plumbing system. This includes identifying pipe routes, determining the number of fixtures to be connected, and selecting access points.
Permits and Permissions—Your plumber will secure any necessary permits to comply with local building codes. This step ensures that the work meets legal and safety standards.
Protecting Your Home—Before work begins, the plumber will take steps to protect your home by covering furniture, flooring, and other surfaces in the work areas.
Step 4 and Step 5: Shutting Off The Water Supply & Old Pipe Removal
The plumber will turn off your home’s main water supply and drain the system to prepare for the replacement. This ensures no water remains in the pipes during the installation process.
The old plumbing system will be systematically removed. Depending on your home’s structure, this may involve accessing pipes behind walls, under floors, or in the attic.
Minimizing Damage—Professionals will minimize the number of holes they cut into walls or ceilings. They’ll carefully remove sections to access pipes and ensure clean repairs later.
Step 6: Installing the New Pipes
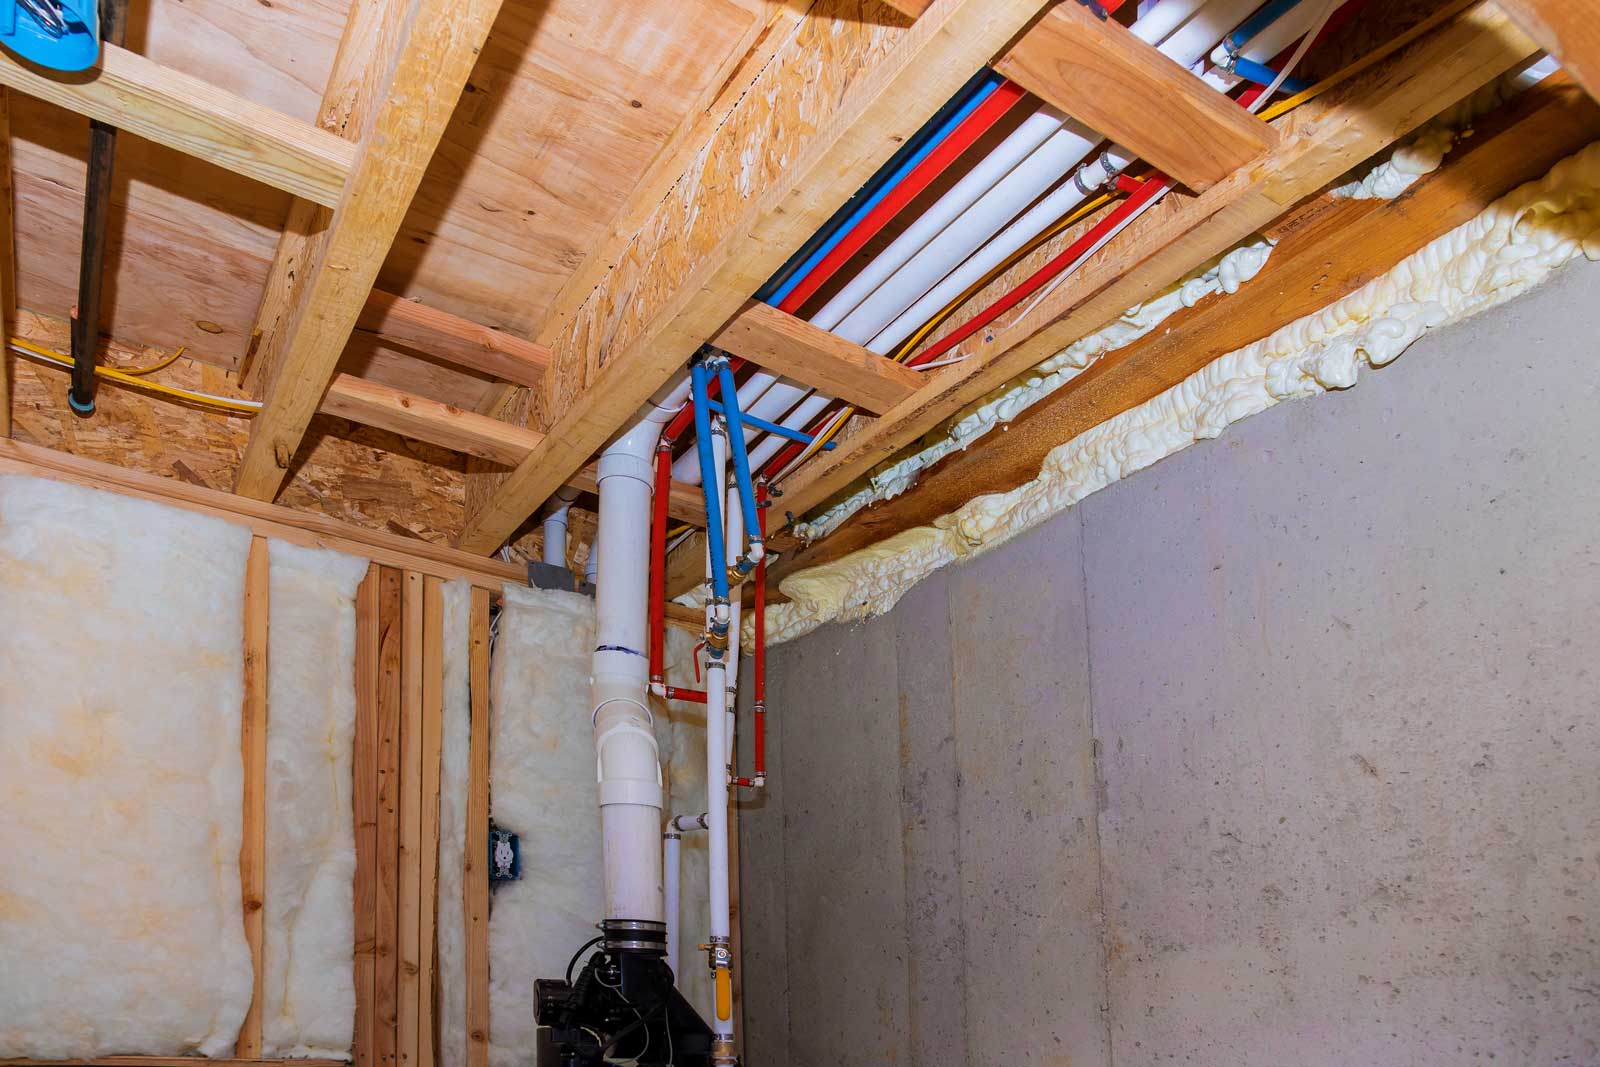
The new plumbing system is installed according to the pre-approved layout. This step involves (1) running new pipes to connect to fixtures (e.g., sinks, showers, water heaters), (2) adding new fittings and valves as needed, and (3) connecting the new pipes to the main water line. PEX and CPVC are often preferred because they’re easier to work with, especially in tight spaces.
Step 7: Testing the System
Once the new pipes are in place, the plumber will test the system to ensure everything is functioning correctly. This involves checking for (1) proper water pressure, (2) leak-free connections, and (3) consistent water flow to all fixtures.
Step 8: Restoring Your Home
After the plumbing is complete, the plumber will patch and repair any walls, ceilings, or floors that were accessed during the project. Professional contractors will ensure the repairs are seamless, leaving your home looking as good as new.
The work area will be thoroughly cleaned, and any debris from the project will be removed. This ensures your home is ready for regular use immediately after the project is finished.
The plumber will perform a final walkthrough with you to explain the work completed and address any questions or concerns. Be sure to review the warranty for the new plumbing system and ask about maintenance tips to maximize the lifespan of your new pipes.
How Long Does Repiping a House Take?
The duration of a repiping project depends on the size of your home and the scope of the work. Typically, smaller homes take 1-3 days, while larger homes can take 3-7 days, depending on the size. Professional plumbers work efficiently to minimize disruption to your daily life.
Home Repiping Project Conclusion
Repiping your home may seem daunting, but understanding the process can help ease concerns and set clear expectations. With a trusted professional by your side, you can transform your plumbing system into a reliable, efficient foundation for your home’s future. If you’re ready to start the repiping process or need expert advice, contact us today for a consultation. We’ll ensure your project is smooth, stress-free, and tailored to your needs!


